GitHub: https://github.com/aiBard101/image_recognition/tree/main/handwritten_digits_recognition
Building a Digit Recognition Model with MNIST Dataset Using TensorFlow
We’ll walk through the process of building a digit recognition model using the MNIST dataset with TensorFlow and Keras. We’ll cover data preprocessing, model building, training, evaluation, and visualization of the results.
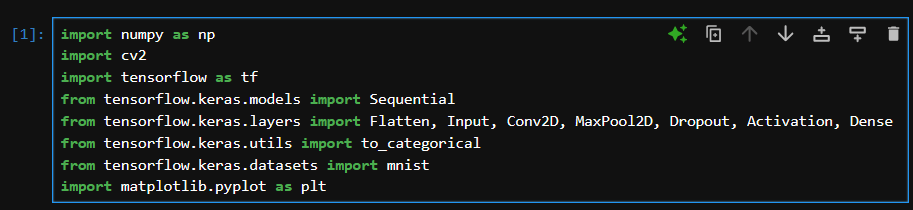
Step 1: Importing Libraries
We’ll start by importing the necessary libraries. This includes NumPy for numerical operations, OpenCV for image processing, TensorFlow for building and training our neural network, and Matplotlib for visualization.
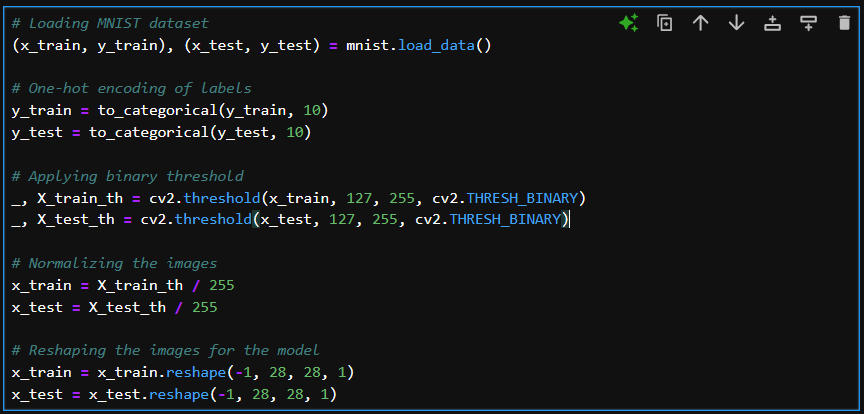
Step 2: Loading and Preprocessing the MNIST Dataset
The MNIST dataset contains 60,000 training images and 10,000 testing images of handwritten digits (0-9). We’ll load the dataset and preprocess the images by applying a binary threshold and normalizing the pixel values.
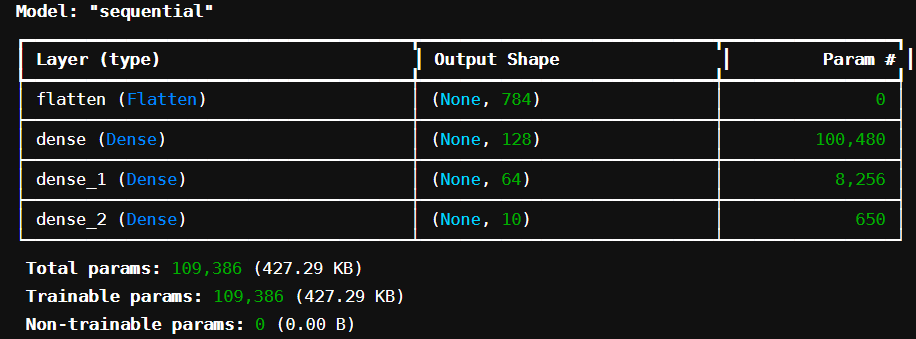
Step 3: Building the Neural Network Model
We’ll build a simple Sequential model with three dense layers. The input layer will have a shape of (28, 28, 1) corresponding to the dimensions of the MNIST images.

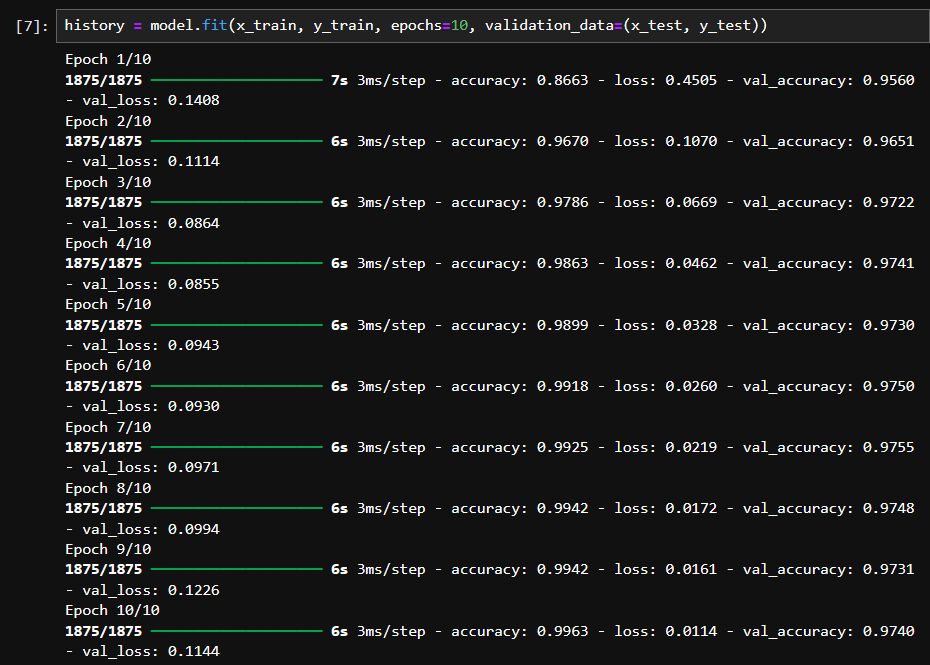
Step 4: Compiling and Training the Model
We’ll compile the model using the Adam optimizer and categorical cross-entropy loss function.

Then, we’ll train the model for 10 epochs.
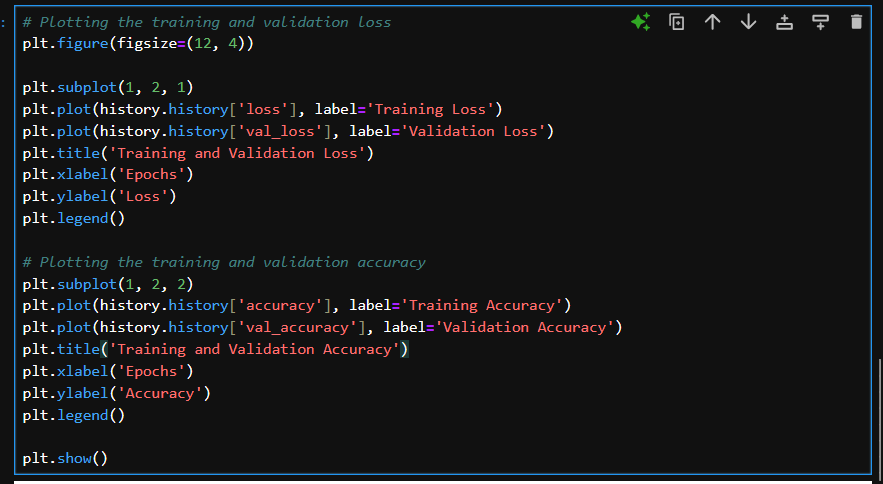
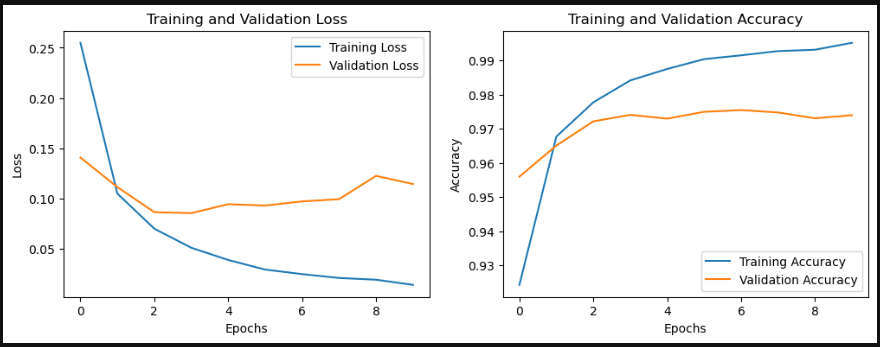
Step 5: Visualizing Training Results
After training, we’ll visualize the training and validation loss and accuracy over the epochs.
Step 6: Evaluating the Model
We’ll evaluate the model on the test set and print the test accuracy.

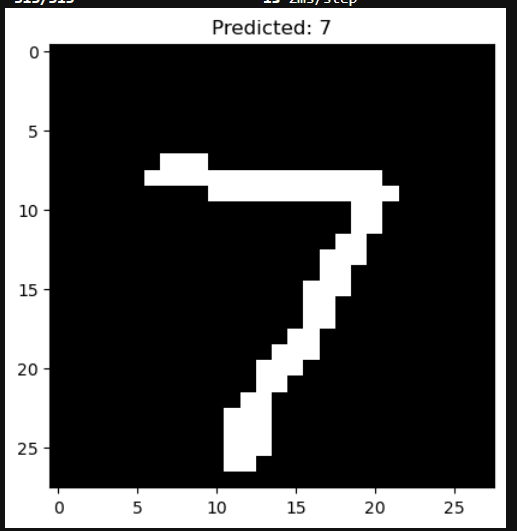
Step 7: Making Predictions
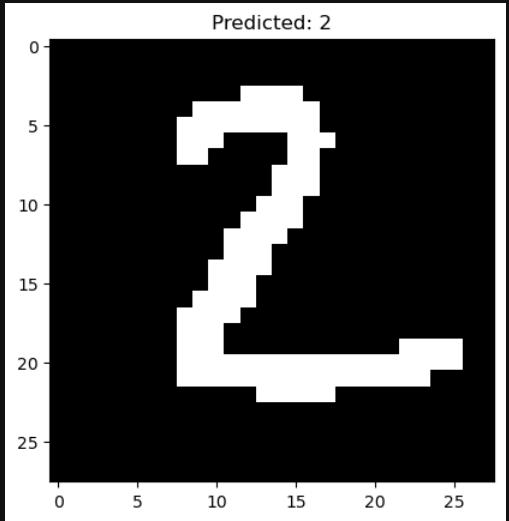
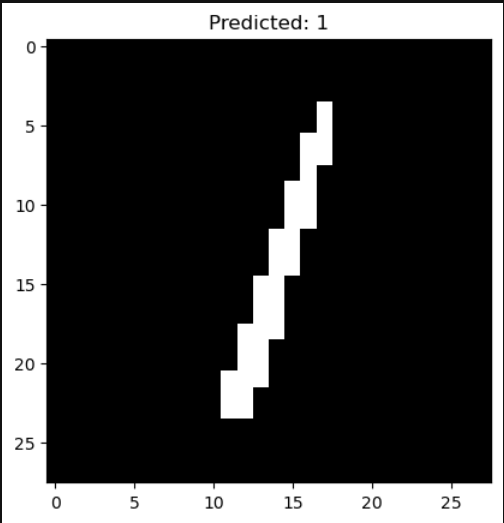
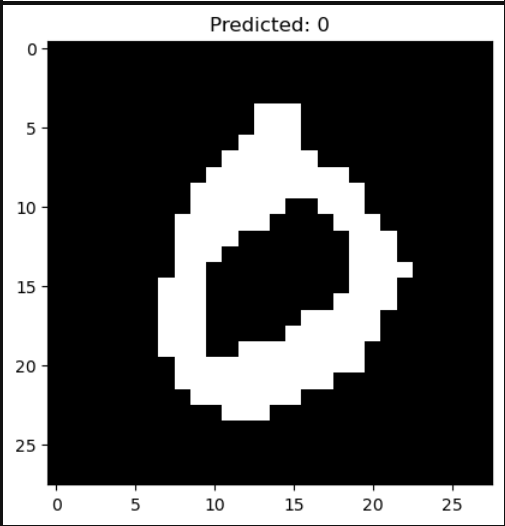
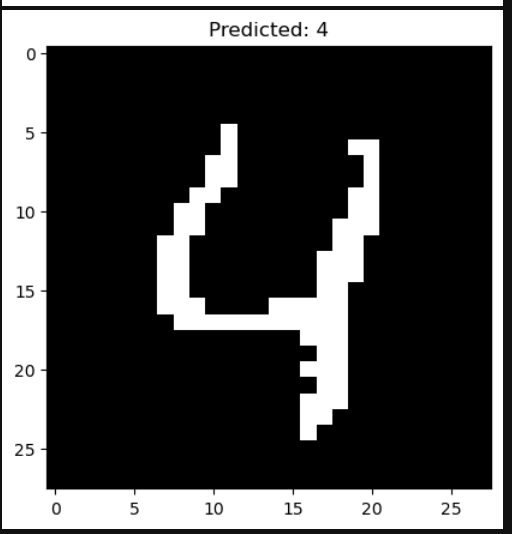
Finally, we’ll use the trained model to make predictions on the test set and display the first five predictions.

Step 8: Saving the Model
We’ll save the trained model for future use.

Conclusion
In this blog post, we walked through the entire process of building, training, and evaluating a digit recognition model using the MNIST dataset with TensorFlow and Keras. This model achieved good accuracy on the test set and can be further improved with more complex architectures or additional preprocessing steps. Feel free to experiment and enhance the model!
Real-Time Digit Recognition with OpenCV and a Trained TensorFlow Model
In the second part of our project, we extend our digit recognition model to work in real-time using a webcam. We will preprocess the input from the webcam, predict the digit, and display the prediction on the screen.
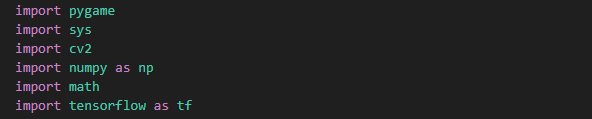
Step 1: Importing Libraries
We’ll need OpenCV for capturing and processing the video stream, NumPy for numerical operations, TensorFlow for loading the pre-trained model, and math for calculations.

Step 2: Loading the Trained Model
We start by loading the trained model that we saved earlier.

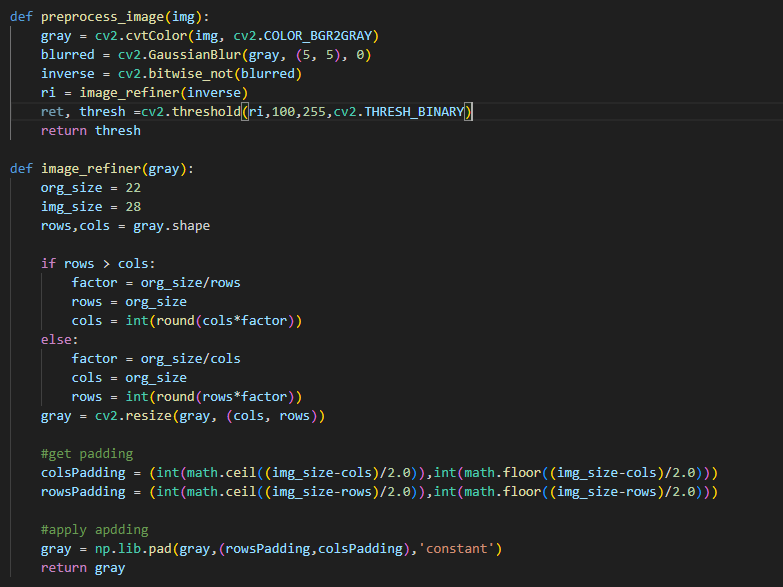
Step 3: Preprocessing the Input Image
We define functions to preprocess the captured image and refine the image by resizing and padding it to fit the input size of our model.
Step 4: Predicting the Digit
The function predict_digit preprocesses the image and predicts the digit using the loaded model.

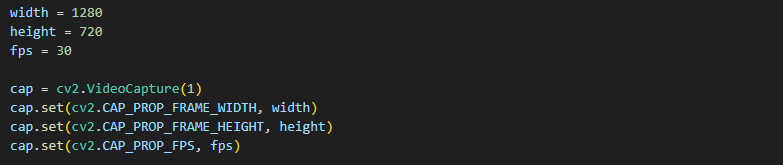
Step 5: Setting Up the Webcam
We initialize the webcam and set the video capture properties like width, height, and frames per second.
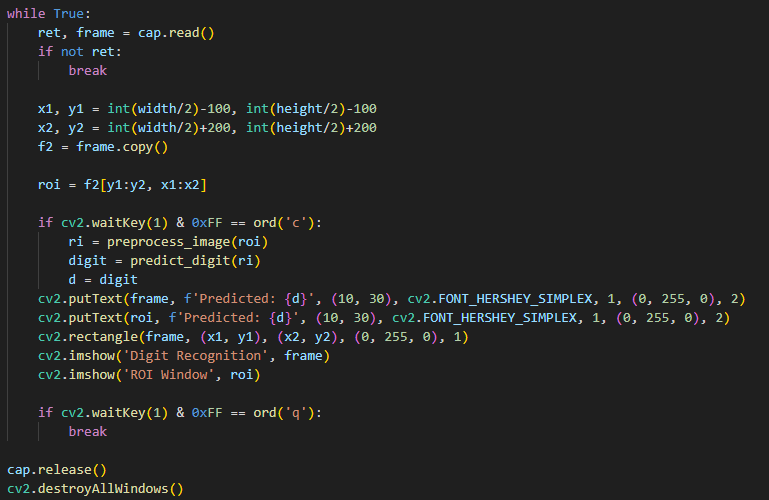
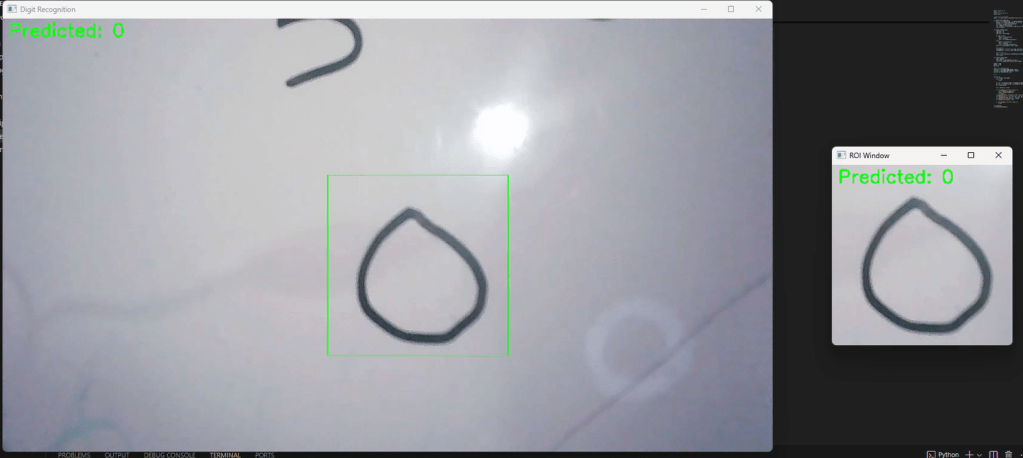
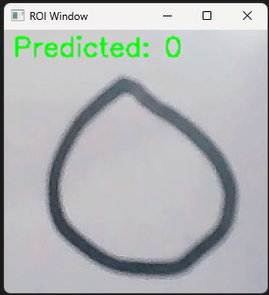
Step 6: Real-Time Digit Recognition
We continuously capture frames from the webcam, process the region of interest (ROI), predict the digit when ‘c’ is pressed, and display the result on the screen.
Conclusion
In this blog post, we extended our digit recognition model to work in real-time using a webcam. We implemented functions for preprocessing the input image, predicting the digit, and displaying the result on the screen. This real-time digit recognition system can be further improved with more advanced image processing techniques or by incorporating more robust models. Feel free to experiment and enhance the system!
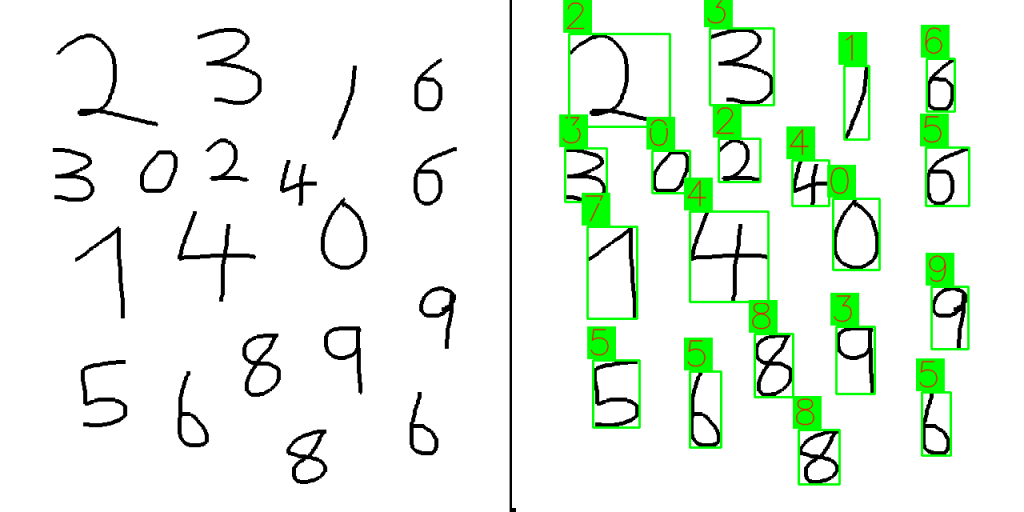
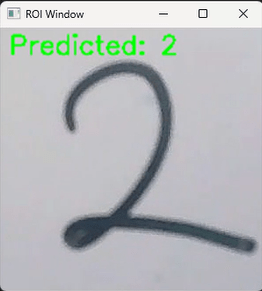
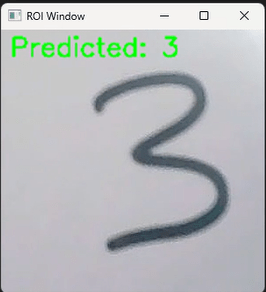
Results
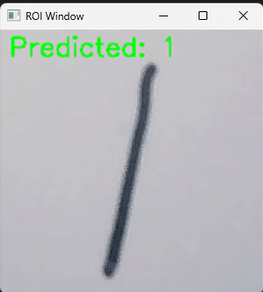

Interactive Digit Recognition Application.
In this final part of our project, we’ll create an interactive application using Pygame, allowing users to draw digits, which are then recognized by our trained TensorFlow model. This part will integrate real-time drawing, image processing, and digit prediction, providing a complete interactive experience.
Step 1: Importing Libraries
We’ll import the necessary libraries, including Pygame for the GUI, OpenCV for image processing, TensorFlow for loading our model, and NumPy for numerical operations.
Step 2: Loading the Trained Model
We load the trained digit recognition model saved previously.

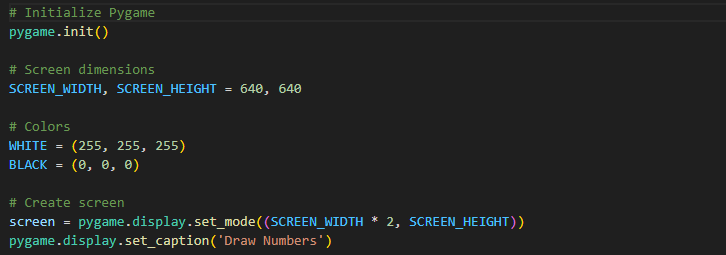
Step 3: Initializing Pygame
We initialize Pygame and set up the screen dimensions and colors.
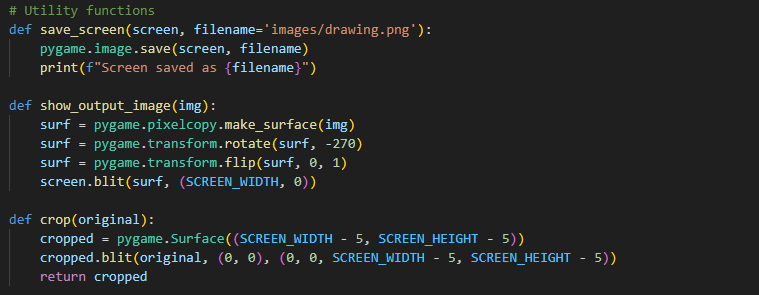
Step 4: Utility Functions
We define utility functions to save the screen, show the output image, and crop the drawing area.
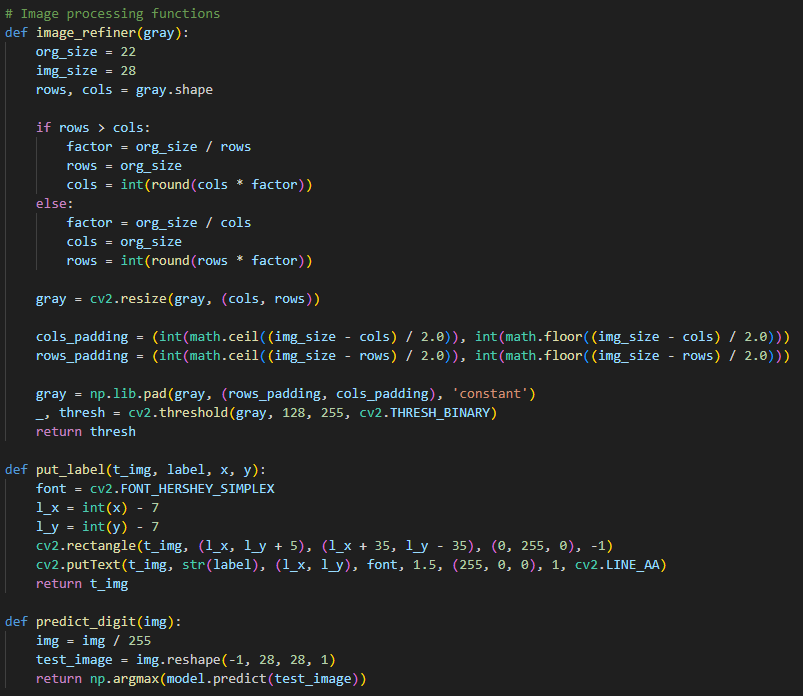
Step 5: Image Processing Functions
We implement functions to refine the image and make predictions using the model.
Step 6: Predicting Numbers
We define a function to detect contours and draw bounding boxes around the detected digits using OpenCV.

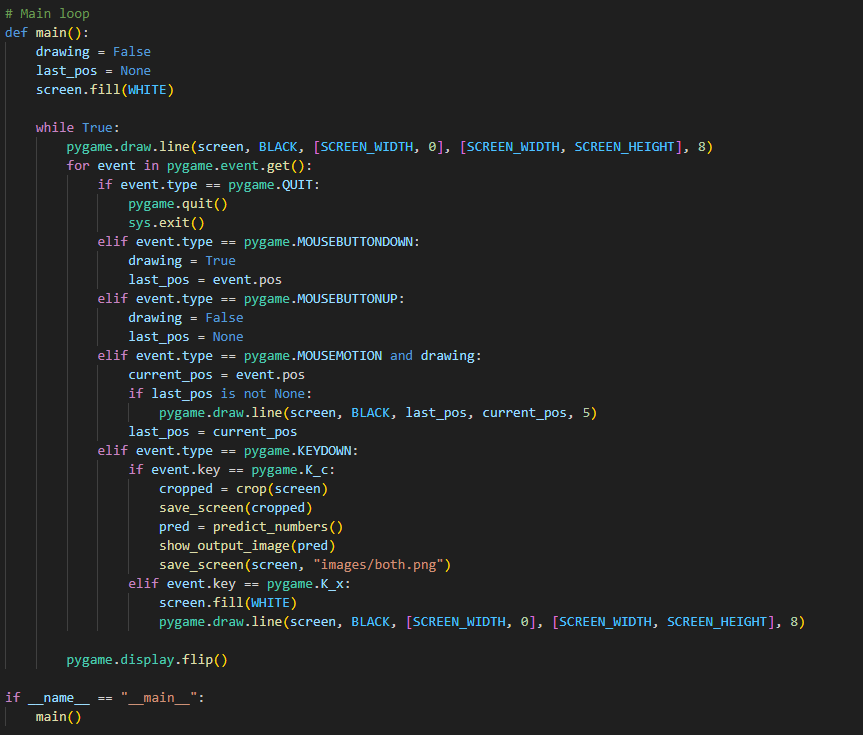
Step 7: Main Loop
The main loop captures user input for drawing digits, predicts the drawn digits when ‘c’ is pressed, and displays the results.
Conclusion
In this third part of our project, we created an interactive Pygame application that allows users to draw digits and recognize them using our trained TensorFlow model. This application showcases the integration of real-time drawing, image processing, and machine learning to create a fun and educational tool. Feel free to extend this project further by adding features like saving drawings, enhancing the prediction accuracy, or even incorporating more complex models. Happy coding!
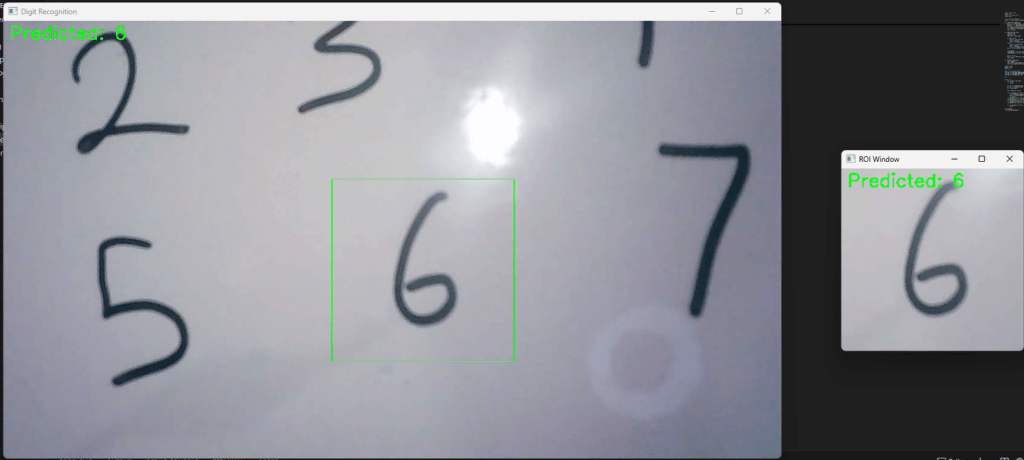
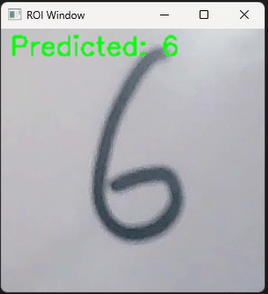
Results